 ( 146 ) 26-Feb-2015
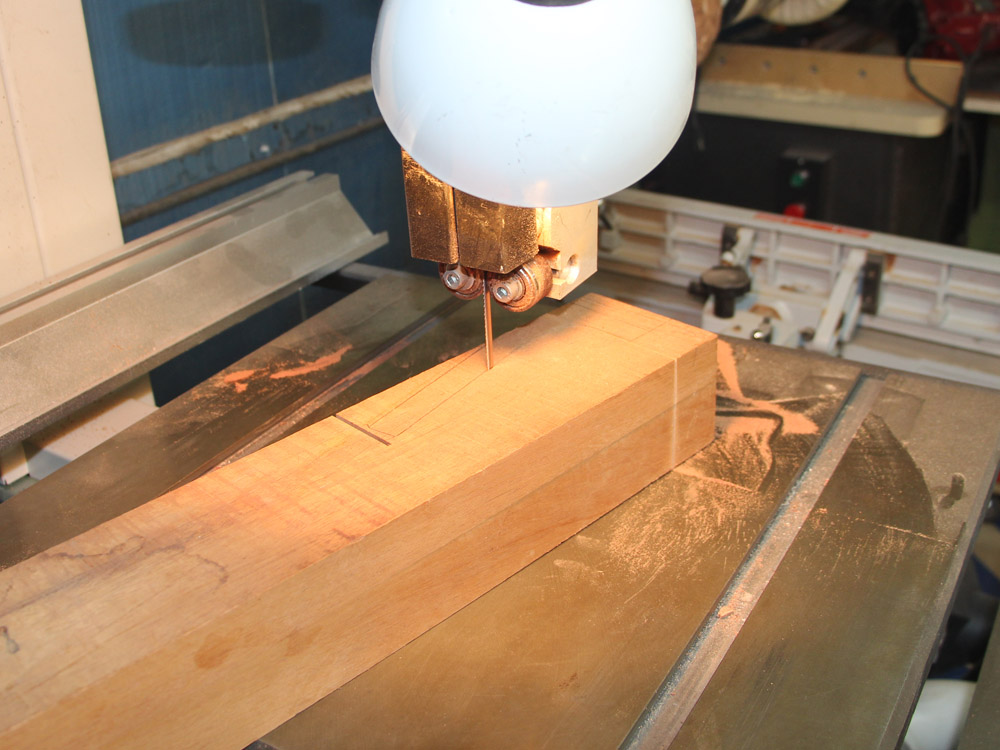
To make the neck I start with a stick of Honduran Mahogany and cut out the neck blank.
( 146 ) 26-Feb-2015
To make the neck I start with a stick of Honduran Mahogany and cut out the neck blank.
 ( 147 ) 26-Feb-2015
I sand the top surfaces to the proper dimensions.
 ( 148 ) 26-Feb-2015
And then I trim the end off to get the right length.
 ( 149 ) 26-Feb-2015
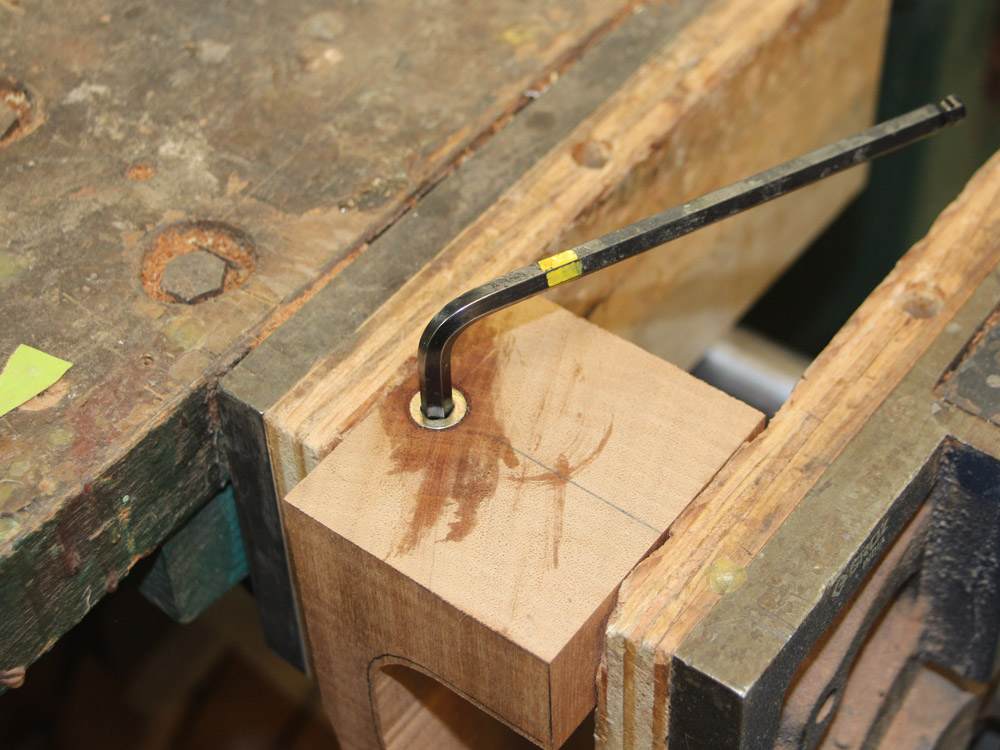
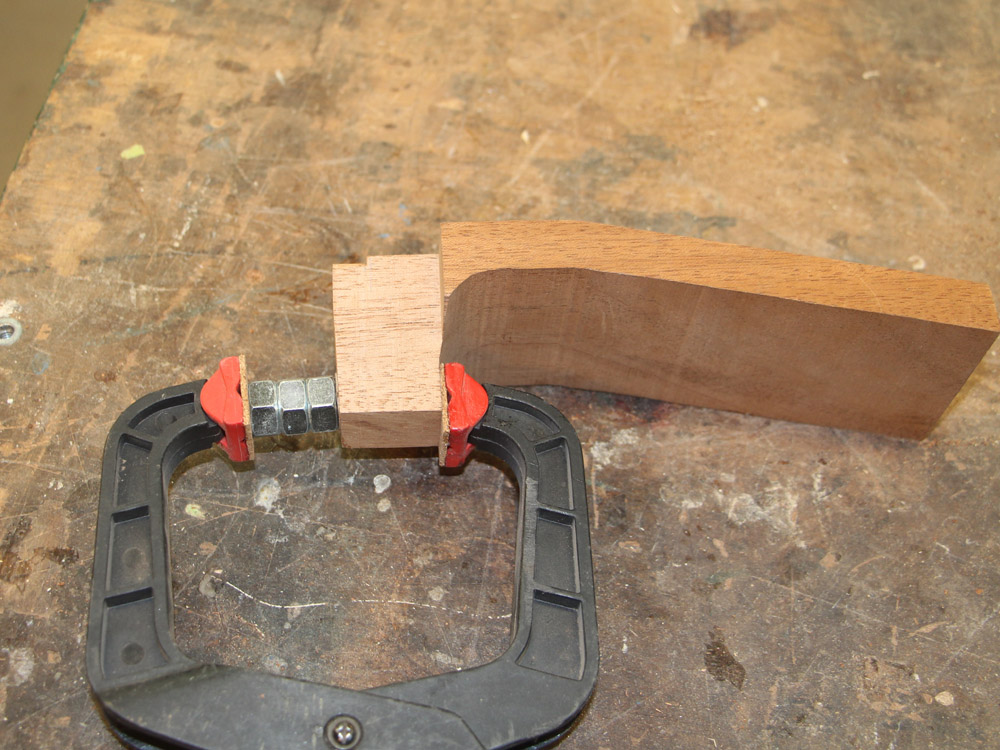
This hole will hold a 1/4-20 wood insert.
 ( 150 ) 26-Feb-2015
This bolt will hold the neck firmly to the body.
 ( 151 ) 26-Feb-2015
To shape the heel of the neck I mount the neck blank on this template fixture.
 ( 152 ) 26-Feb-2015
Then I use the router table and a an end mill...
 ( 153 ) 26-Feb-2015
... that follows the template.
 ( 154 ) 26-Feb-2015
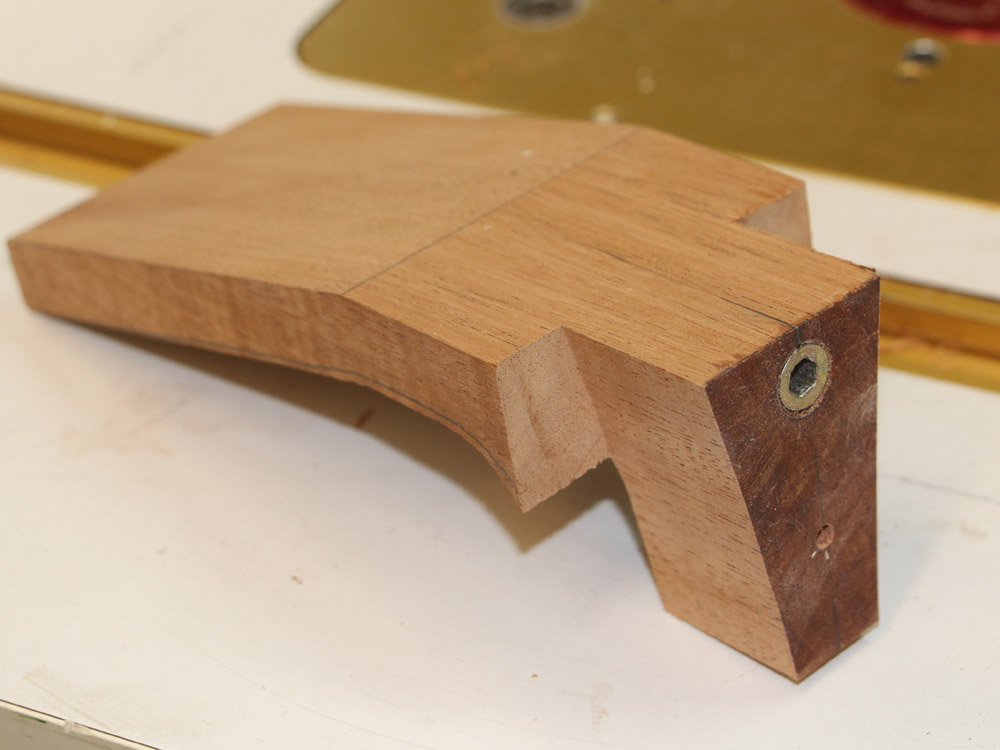
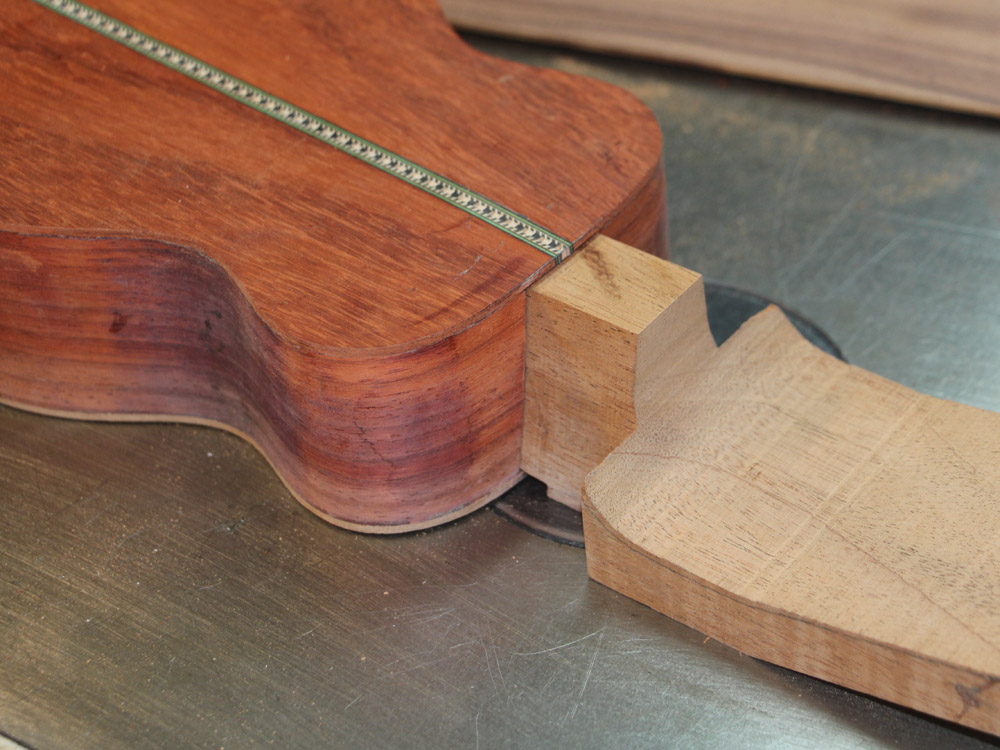
When I am finished I have a perfectly shaped heel.
 ( 155 ) 26-Feb-2015
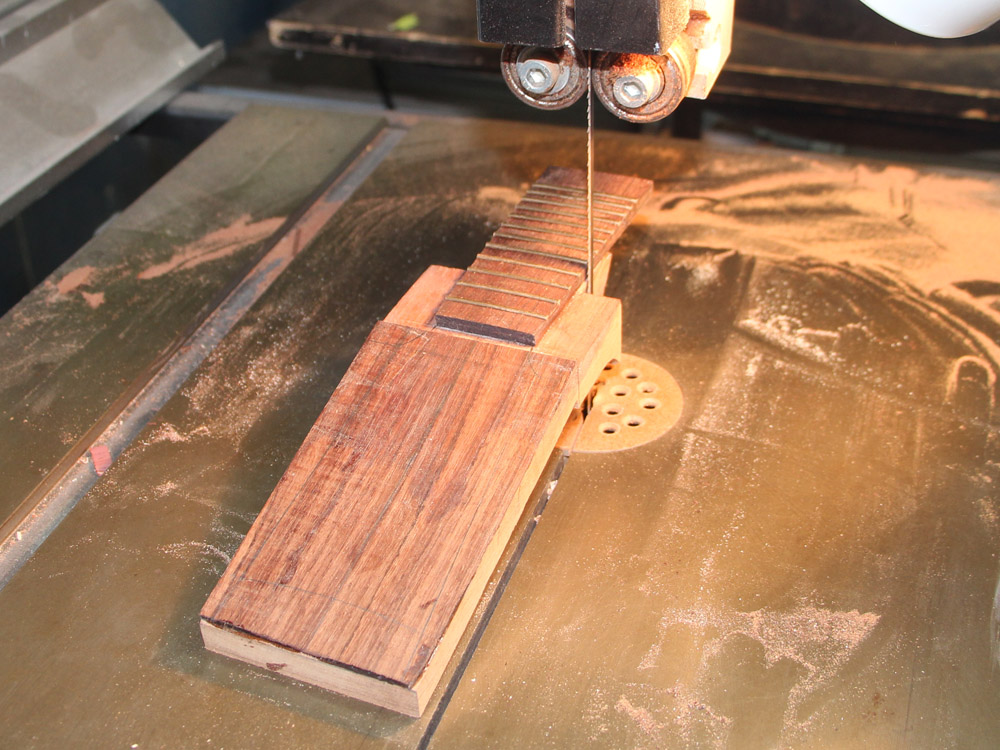
Next I use my CNC robot and a special slit saw to cut the fret slots in the fretboard.
Being as adventurous as I am I have mounted an old radial arm saw motor on to the carriage of the CNC tool. Radial arm saws are really dangerous... but this is of course a perfectly safe and sane way to use it.;). Actually I have a blade cover tat I use and I am really careful.
 ( 156 ) 26-Feb-2015
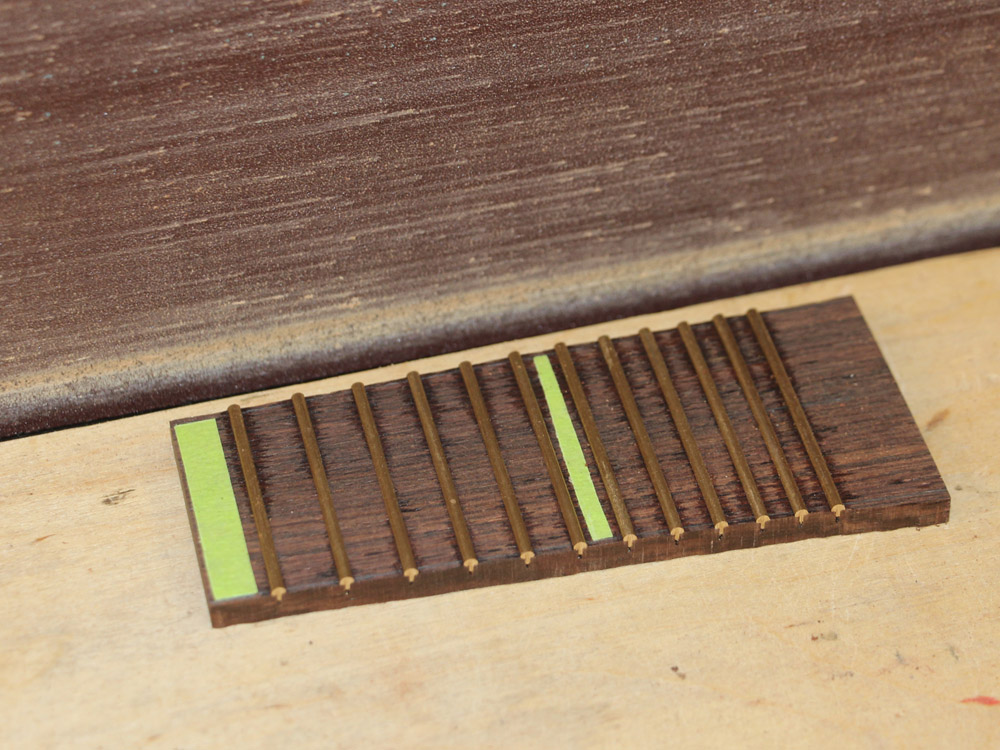
Nonetheless, I get perfectly sawn fretwire slots.
 ( 157 ) 26-Feb-2015
Taking a look to see how things are lining up.
 ( 158 ) 26-Feb-2015
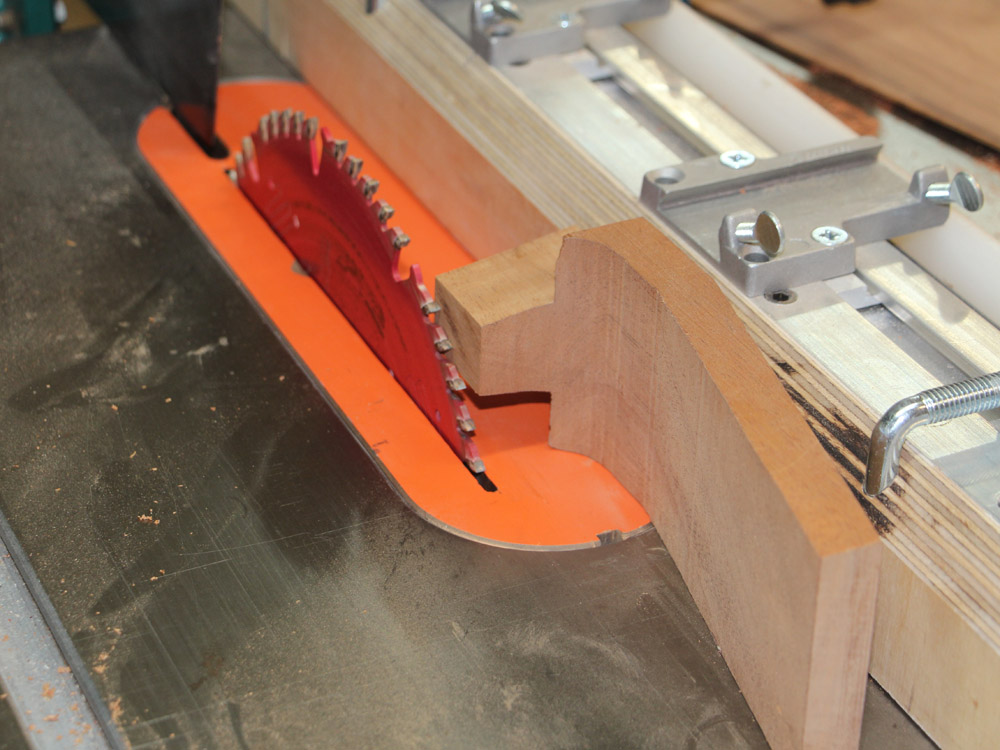
Now I use the table saw to trim the end of the heel so it will fit into the heel channel in the body of the guitar.
 ( 159 ) 26-Feb-2015
 ( 160 ) 26-Feb-2015
 ( 161 ) 26-Feb-2015
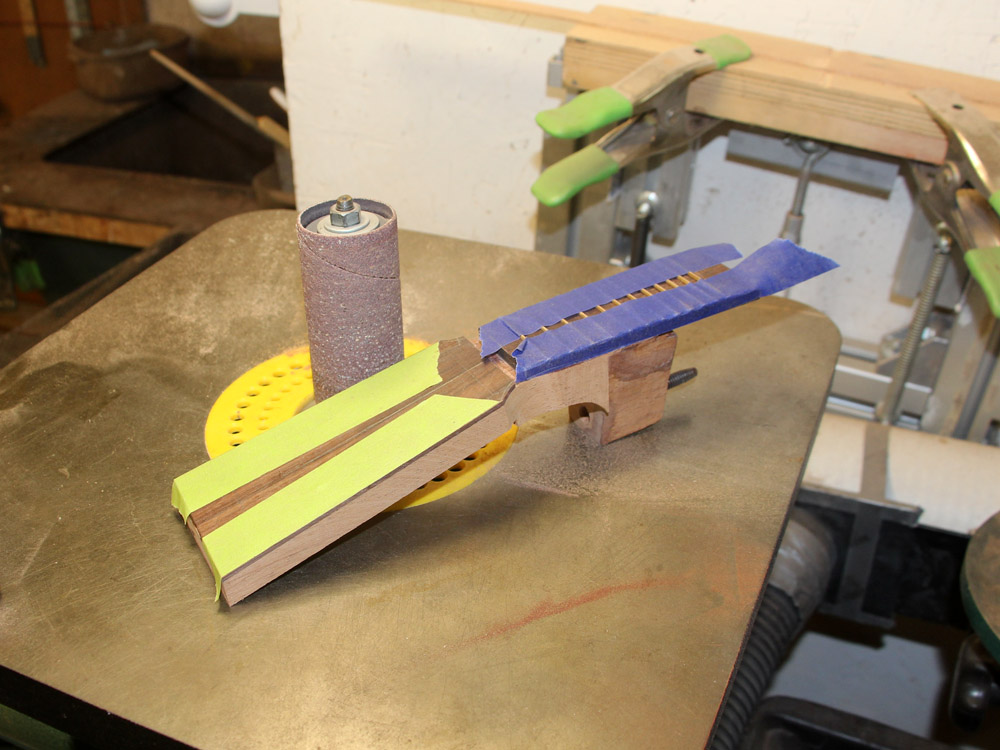
Here I am using my belt sander to put an arch on the fretboard. and trim my finger nails.
 ( 162 ) 26-Feb-2015
I make sure the strings lines of the fretboard are perfectly(+-) straight with this special very straight sanding block.
 ( 163 ) 26-Feb-2015
I will have to trim the fretboard to its final shape after the frets are installed. The dimensions are critical with a tolerance of 5 mill or so. A line drawn with a pencil is way too big. I use a piece of tape, line up a straight edge, and trim the tape with a sharp blade. This creates a zero width line in just the right spot. When I go to trim up the fretboard I will trim until there is no wood between the edge of the wood and the tape. With a pencil line it would always be a bit ambiguous where to stop.
 ( 164 ) 26-Feb-2015
A few tools I will use to install the frets.
 ( 165 ) 26-Feb-2015
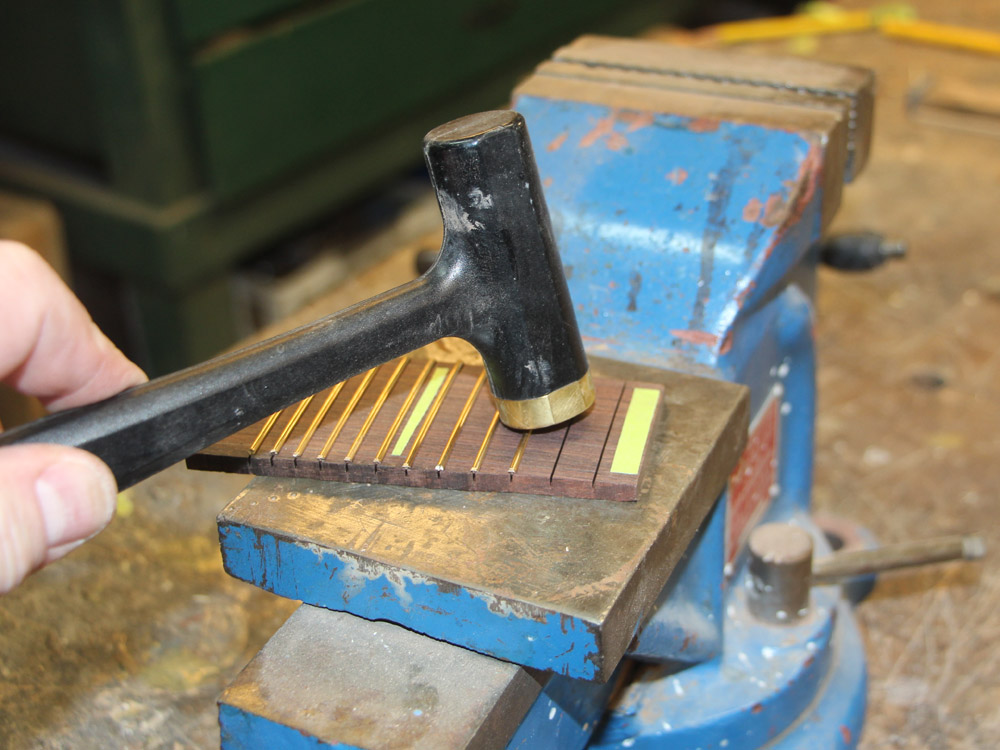
I have a special hammer with a brass head to tap the frets into place. This is the only thing I use this hammer for to maintain the integrity of the hammer head. If it gets marred it can damage the fret wire.
 ( 166 ) 26-Feb-2015
I use a bit of CA glue to make sure the frets stay put.
 ( 167 ) 26-Feb-2015
Now I use the band saw to cut away the majority of the excess...
 ( 168 ) 26-Feb-2015
... and then I use the belt sander to sneak up on the edge of the tape.
 ( 169 ) 26-Feb-2015
I cut a 3 degree bevel in the back of the heel to make sure it will have free travel inside the heel channel.
 ( 170 ) 26-Feb-2015
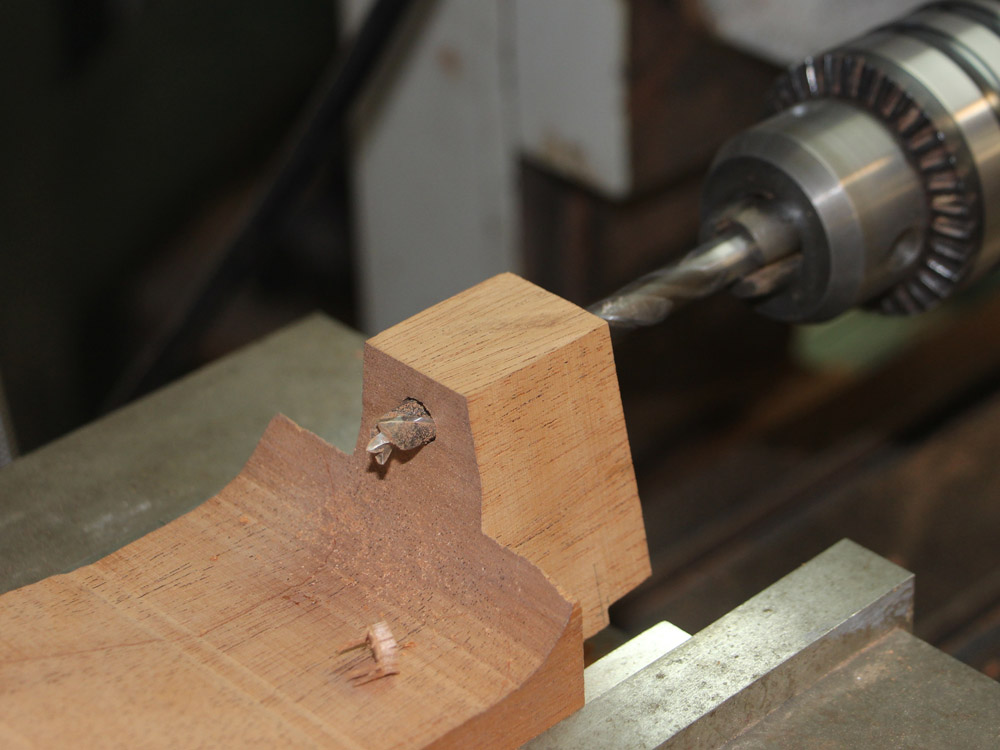
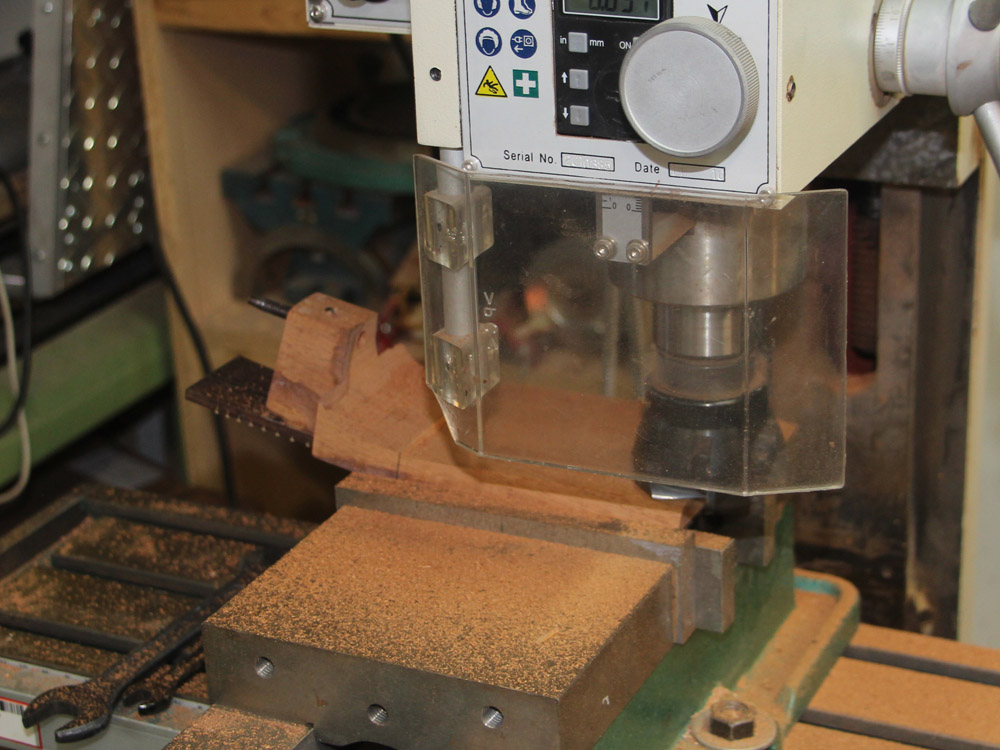
I set up my milling machine in a horizontal position and drill a hole in the back off the heel for the adjustment hardware.
 ( 171 ) 26-Feb-2015
And then I drill a hole for the adjustment tool access.
 ( 172 ) 26-Feb-2015
The adjustment hardware.
 ( 173 ) 26-Feb-2015
I press everything together as the glue sets to insure there is no sloppy wiggle in the assembly.
 ( 174 ) 26-Feb-2015
There is a significant amount of tension on the retaining flange, so to insure it won't pull out over time I install two cross dowel pins that intersect the flange.
 ( 175 ) 26-Feb-2015
 ( 176 ) 26-Feb-2015
Next I cut two small channels in the top of the heel that will accommodate the "hiddy wings" that over hang in the heel channel. These wings hide the heel channel gap between the neck and the body, making the joint between the neck and body look sharp.
 ( 177 ) 26-Feb-2015
Now I am ready to glue everything together. Everything gets a clamp.
 ( 178 ) 26-Feb-2015
This is the first time the neck has been mated to the body.
 ( 179 ) 26-Feb-2015
However the neck still needs lots of work. Here I am trimming the back side of the headstock to its final dimension with the milling machine.
 ( 180 ) 26-Feb-2015
Now I can trim off the majority of everything that isn't a guitar neck.
 ( 181 ) 26-Feb-2015
I will be using a variety of tools to shape the neck, but I don't want to remove wood from some of it. I mask off the parts I don't want to touch.
 ( 182 ) 26-Feb-2015
First a few power tool to do the heavy lifting.
 ( 183 ) 26-Feb-2015
And then a few hand tools.
 ( 184 ) 26-Feb-2015
 ( 185 ) 26-Feb-2015
 ( 186 ) 26-Feb-2015
I set up the drill press to drill the holes for the tuning machines.
 ( 187 ) 26-Feb-2015
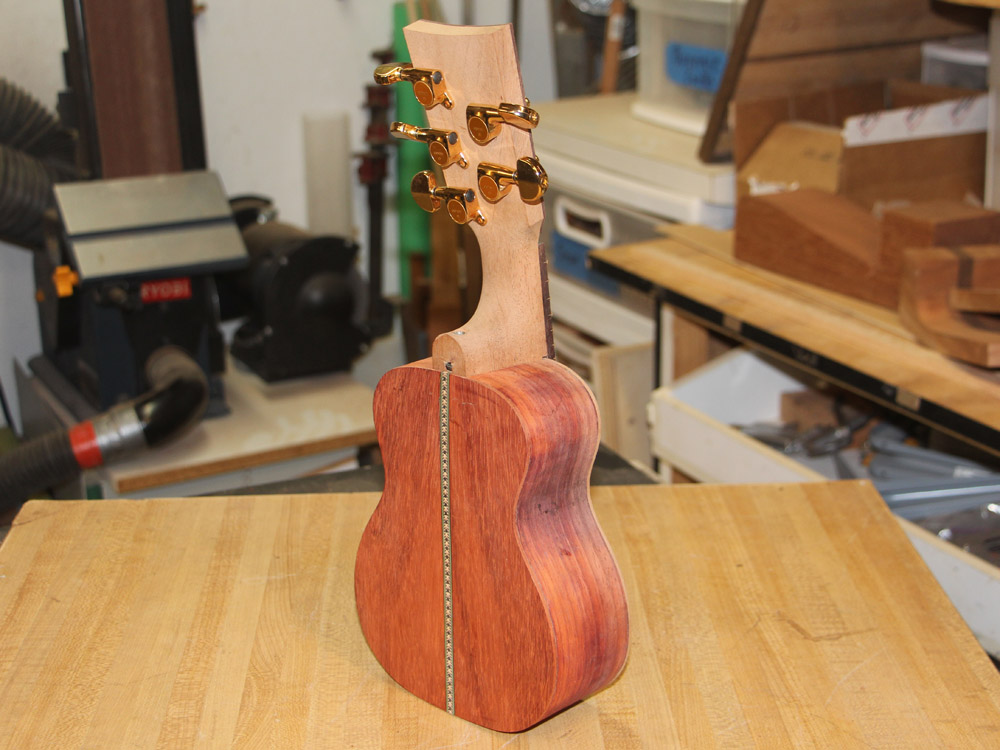
And they fit.
 ( 188 ) 26-Feb-2015
And now I trim the end of the headstock to its final shape.
 ( 189 ) 26-Feb-2015
If you remember from picture (128), there are two set screws in the heel channel that the neck will rest on. To make sure things don't shift when the neck is attached I install two brass plugs in the back of the heel for the set screws to contact. This contact point will be the fulcrum of the adjustable neck and I want it to be well defined. I shape the ends of the set screws to a point so they will dig into the brass plugs and make a little divot insuring that the neck won't slide around even as it rotates around the fulcrum.
 ( 190 ) 26-Feb-2015
Nice and shinny.
 ( 191 ) 26-Feb-2015
And it is starting to look like a guitar.
 ( 192 ) 26-Feb-2015
 ( 193 ) 26-Feb-2015
Next up is the binding.